Map the Focus Wheel and Diopter Before a Bird Walk
Borrowed binoculars often arrive with controls adjusted for somebody else. A quick control map can prevent a whole walk of uncertain fiddling. Learn which adjustment affects both sides and which balances the eyes, then follow the manufacturer’s setup sequence on a quiet, stationary target before heading out.
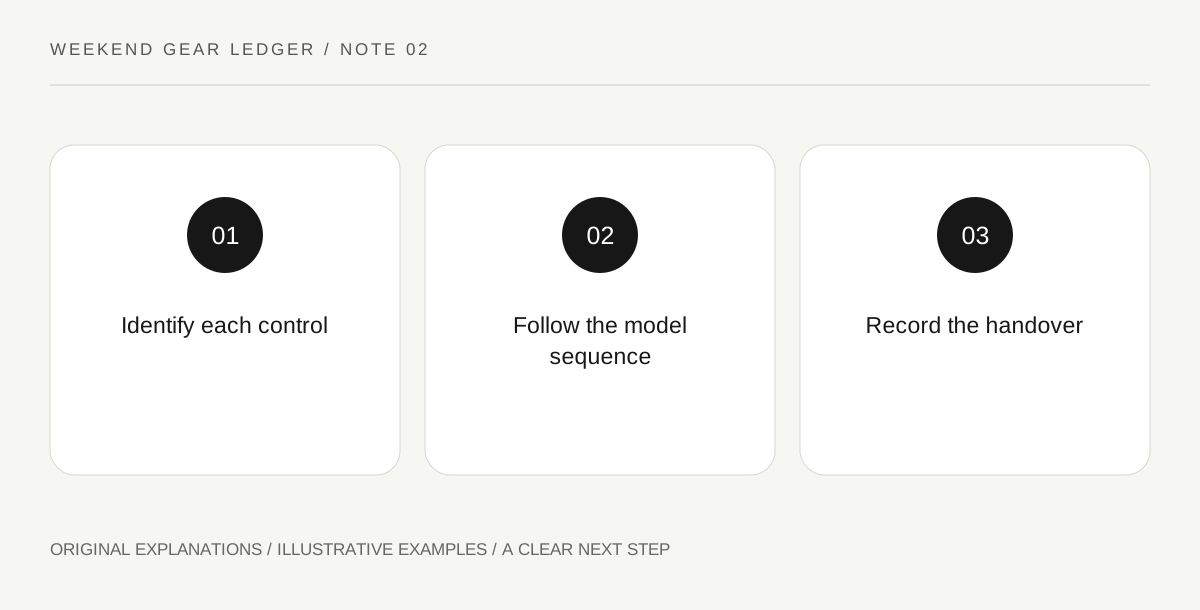
Original explanatory diagram. Read the full method and limitations below.
Find the manual’s control drawing
A central wheel and a diopter adjustment have different jobs on many birding binoculars. Columbus Audubon explains that distinction, but the location and locking mechanism vary. Match the drawing to your exact model; do not guess from a similar photograph online. If the binocular has a different focusing system, use its own procedure rather than translating instructions intended for a central-focus instrument.
Make a reversible starting note
Before altering a borrowed unit, ask the owner how they want it returned and note any visible original setting without treating it as your target. Choose a fixed object with clear detail, never the Sun. Work while standing or sitting still. Read the sequence first so you are not alternately twisting every control and losing track of which adjustment produced a change.
Keep balancing separate from refocusing
After completing the model’s prescribed setup, use the ordinary focusing control as instructed when looking at another suitable target. The useful distinction is between adjusting for the viewer and adjusting for subject distance. If sharpness remains confusing, return to the manual or ask for a demonstration. Repeatedly moving the diopter during every observation makes it difficult to understand whether the original setup worked.
Prepare for a shared instrument
For a group outing, give each user time to restore their own settings before trying to identify a bird. Keep adjustment notes private to the equipment task rather than describing anyone’s eyesight. A removable paper reference in the case can identify the manual page and control names without placing adhesive on moving parts. Put the caps and carrying accessories back in their intended places afterward.
Illustrative worked example
Illustrative example: A community walk has one loan pair. Ren initially turns a small ring every time the subject changes and cannot reproduce a clear view. A volunteer identifies the ring in that model’s manual, helps Ren complete the setup sequence, and then demonstrates the regular focus wheel. The equipment log records the relevant page and return setting, making the next handover easier without claiming the binocular has been repaired.
Questions that come up
Can I mark the diopter permanently?
Ask the owner and follow the manufacturer’s care instructions. A paper note may be enough. A permanent mark can mislead another viewer and may damage a finish or interfere with a moving control.
What if two eyes still seem very different?
Stop treating repeated adjustment as a compulsory solution. Ask for equipment assistance, and seek appropriate professional advice about persistent vision concerns. This article provides a control-reading exercise, not an eye test.
References and scope
These sources support the factual background. Examples and exercises are original illustrative teaching material. References do not imply endorsement.
- Columbus Audubon: beginner binocular guide — Central focusing and diopter roles; model-specific controls still require their manual.