Prepare a Geocaching Search Kit Without Turning It into a Hiding Project
Your first geocaching outing does not require buying a collection of containers and camouflage materials. Searching for an existing cache and placing a new one are different activities. Keep the first kit tied to a straightforward permitted search, with the listing, access conditions and return plan understood before departure.
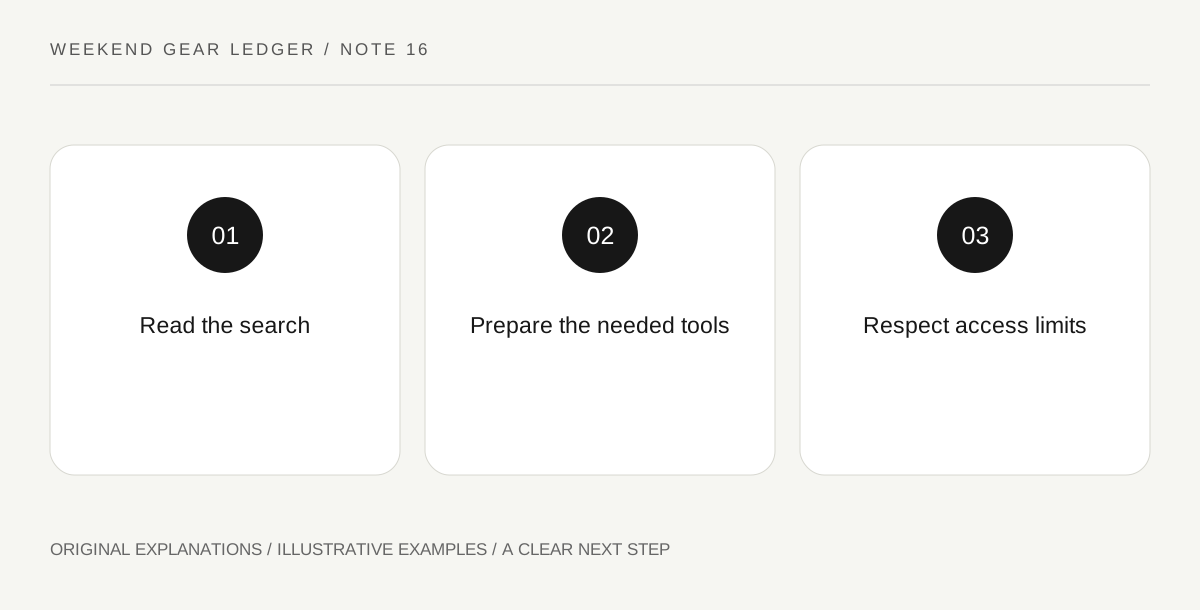
Original explanatory diagram. Read the full method and limitations below.
Read the listing as activity information
Choose a beginner-appropriate listing through the official service and inspect its stated requirements, access notes and current availability. Do not assume a pin on a map grants access to surrounding land or every route toward it. If the approach is unclear or outside your preparation, select another activity. The purpose of a first outing is to learn the format, not to prove persistence by entering difficult terrain.
Take what supports the actual search
Identify how you will read the listing, navigate the permitted route and record the visit according to the service’s instructions. Check whether a writing tool is needed and prepare your device appropriately for the outing. Keep personal outdoor essentials suitable to the place and conditions. A tool advertised for geocaching is not automatically necessary, especially if its main purpose is constructing or concealing your own cache.
Keep placement permission separate
Geocaching’s placement guidelines require appropriate landowner permission for hides, including relevant public-land authorities. That is a future project with its own obligations, not a reason to carry an empty container on your first search. Do not relocate an existing cache to a place you prefer or create an unofficial replacement without appropriate direction. Report problems through the service’s intended channels instead of redesigning somebody else’s listing.
Set a clear stopping condition
Before leaving, decide when you will turn back for the return journey or abandon an unclear search. If access appears restricted, wildlife is being disturbed or the search would require unsafe action, stop. Leave the site as required and keep any uncertainty in your notes. A not-found result can still teach you what information you need for the next outing without producing a purchase list or an improvised intervention.
Illustrative worked example
Illustrative example: Rae plans a first search near a maintained public route and considers buying three hide containers. Reading the listing and official guidance reveals that this outing involves locating an existing cache, not placing one. Rae takes the needed writing tool and normal day-out essentials, verifies access and sets a return time. When an approach looks restricted, Rae stops and records the issue rather than treating the map pin as permission.
Questions that come up
Should I bring a replacement container just in case?
Do not assume you should replace or relocate another person’s cache. Follow official reporting and owner instructions for problems. A beginner search is not an authorization to change the listing or its physical setup.
Does public land mean every hide or route is permitted?
No. Relevant authorities and local conditions still matter. Official placement guidance requires permission, while your own visit must also respect applicable access restrictions and the particular site’s rules.
References and scope
These sources support the factual background. Examples and exercises are original illustrative teaching material. References do not imply endorsement.
- Geocaching: placement guidelines — Landowner permission is relevant to hiding; searching must still follow local access rules.